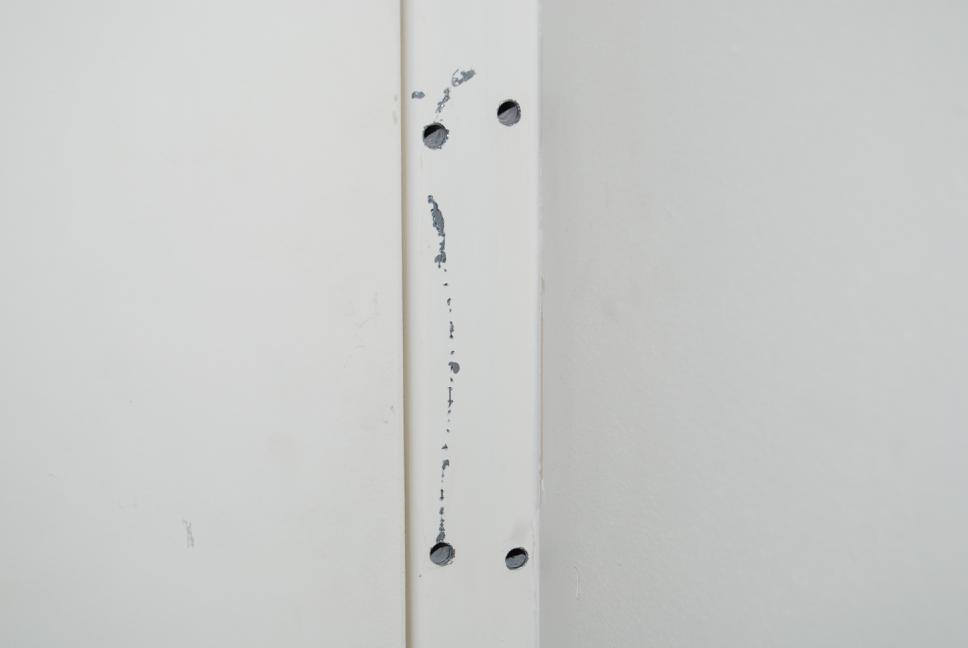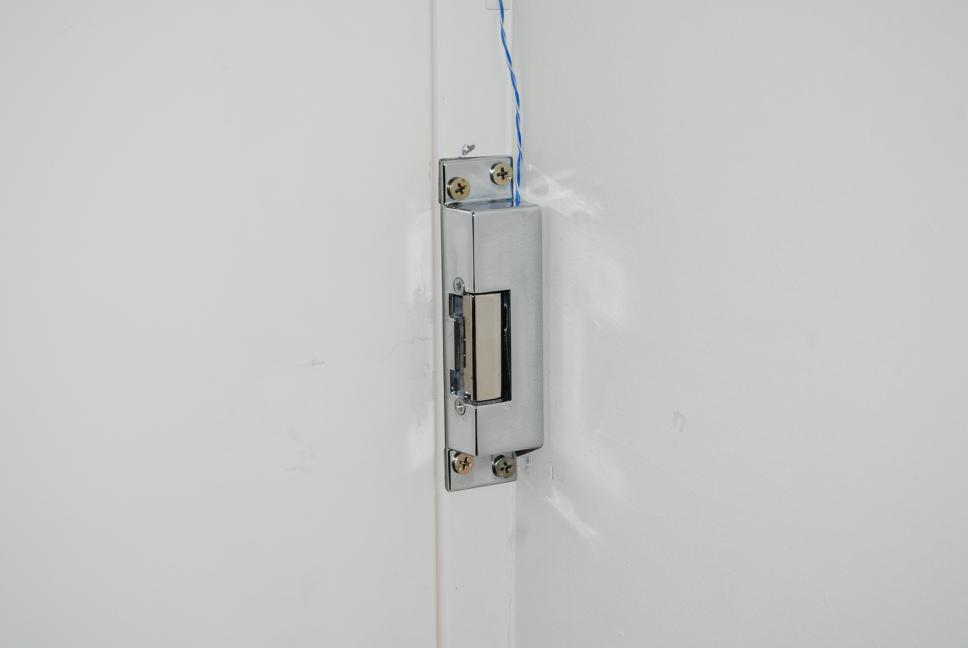
I chose a spot on the steel door frame to install the strike and started drilling. And failing. What's wrong? It turned out the steel frame is filled with concrete; it's called a Lally Column. This changes the fitting method; I can't use steel screws, I have to use masonry bolts which will bite into the edges of the holes and they have to have a flat head so they don't look ghastly after installation.
After drilling through the steel I had to change to a masonry bit to continue. I broke 3 drills to get those 4 holes.

The strike fit well, but it's still got an unsightly pair of wires going to the arduino. One day I may be able to hide them inside the wall. I was originally going to run them through the steel door frame, but the concrete filling stopped that idea.

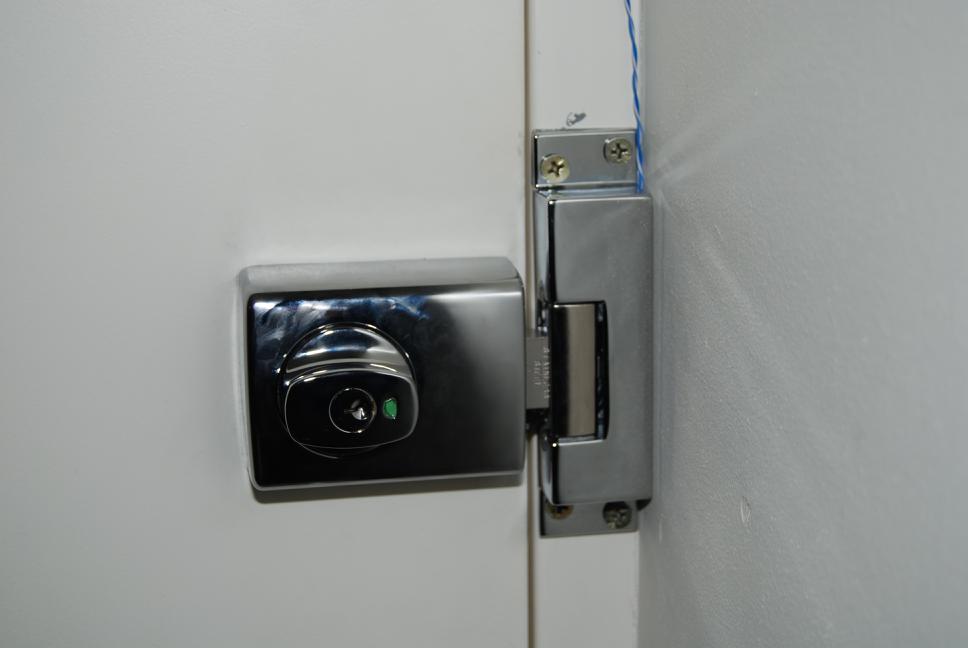
The 001 Deadlatch was easy to fit. Note that the position of the tongue wasn't quite right for the position of the strike plate. I used metal spacers to move the strike just 1mm out from the door so that the deadlatch tongue closes firmly behind the plate.

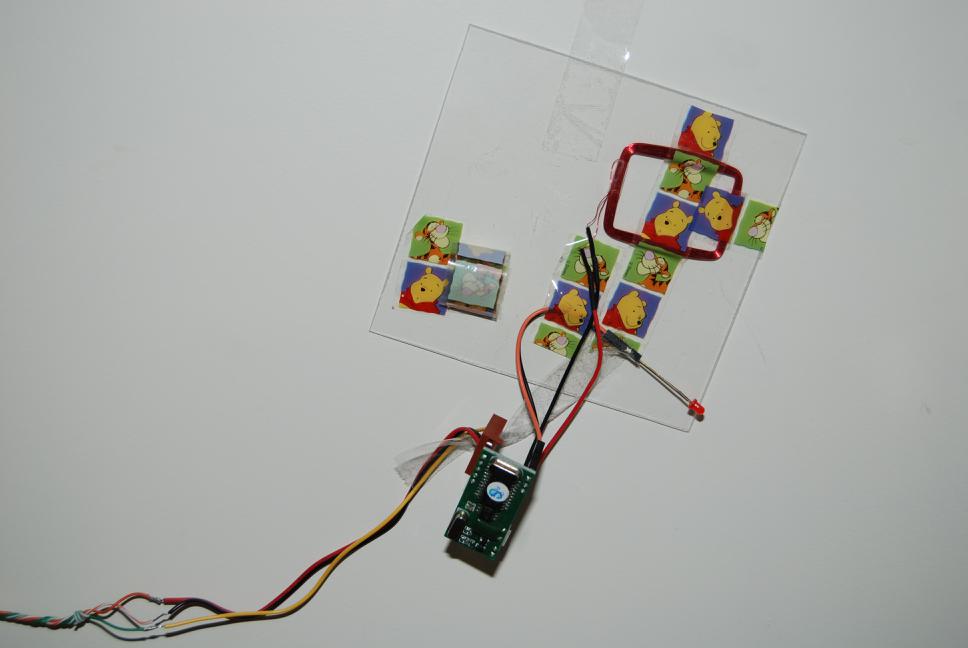
The RFID reader was mounted on a piece of plastic (originally a CD jewel box) and taped to the door. I wanted it to be movable, and not require cutting into the door. Also the coil should be as close to the back of the door as possible. This arrangement allows cards to be read through the door to a distance of about 1cm. That's nice; nothing shows on the outside.

The final result looks a bit home-grown. That's OK, it gives me a reason to talk about the electronics and to show it to people.